Do you want to show and hide text in your WordPress posts with the toggle effect?
Sometimes you might want to hide content until the visitor clicks on a specific link. This is especially helpful when you are creating an FAQ or want to include lots of text on a single page without overwhelming the reader.
In this article, we will show you how to hide text in WordPress posts with the toggle effect.
Why Show and Hide Text in WordPress Posts?
Many websites hide text by default, usually by showing a teaser and then including a ‘Read More’ or ‘See More’ link. Visitors can get more information by clicking on that link.
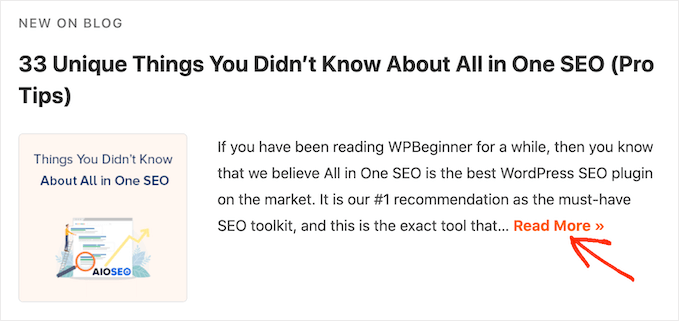
This is useful if you need to add lots of information to a page but are worried that a solid wall of text might overwhelm visitors.
FAQs are a great example, as most visitors will only want the answer to a single question.
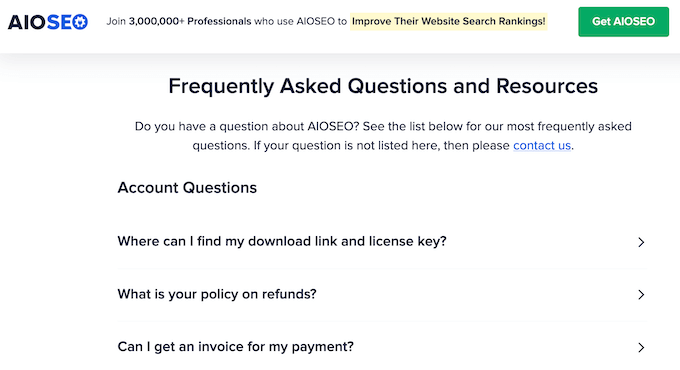
If you show all the answers in full, then visitors may struggle to find the information they need.
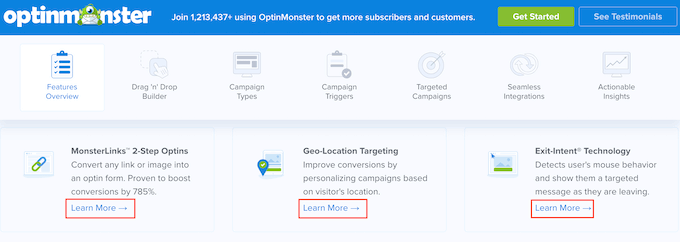
By hiding text with the toggle effect, visitors can scan lots of posts, features, benefits, or other information and then choose the item they want to learn about.
With that being said, let’s see how you can show and hide text in WordPress with the toggle effect. Simply use the quick links below to jump to the method you want to use:
Method 1: How to Show and Hide Text in WordPress Using Shortcode (Quick and Easy)
The quickest and easiest way to add a ‘Read More’ link to any page or post is by using Read More Without Refresh. This free plugin allows you to customize the ‘Read More’ link and then add it anywhere on your website using a shortcode.
The first thing you need to do is install and activate the Read More Without Refresh plugin. For more details, see our step-by-step guide on how to install a WordPress plugin.
Upon activation, click on ‘RMWP Settings’ to configure the plugin’s settings.
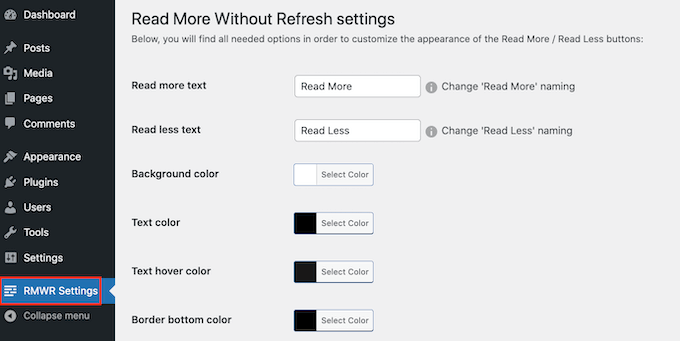
To start, you can change the text that’s used in the ‘Read More / Read Less’ links by typing into the two text fields.
For example, if you are creating a FAQ, then you might want to use something like ‘Show Answer / Hide Answer’ instead.
On this screen, you can also change the text color, background color, and more. This can help you create links that perfectly suit your WordPress theme.
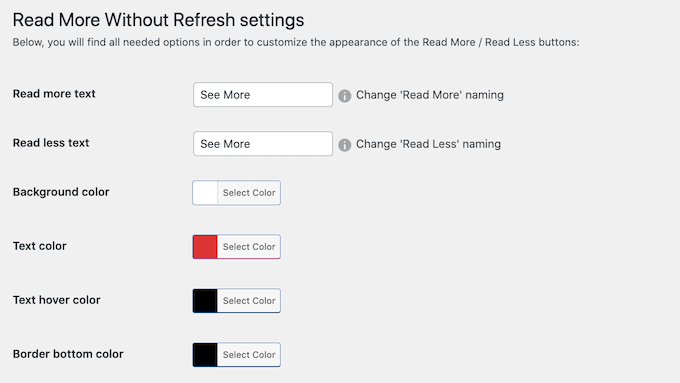
You can also change the font weight, add a border, and change the padding.
When you are finished on this page, be sure to click the ‘Save Changes’ button even if you didn’t make any changes. This is important because if you don’t click this button, then the plugin won’t work as expected.
With that done, you can add a toggle effect to any page or post. You’ll need to find the text you want to hide and then wrap it in shortcode.
To start, click on the ‘+’ icon to add a block before the text you want to hide.
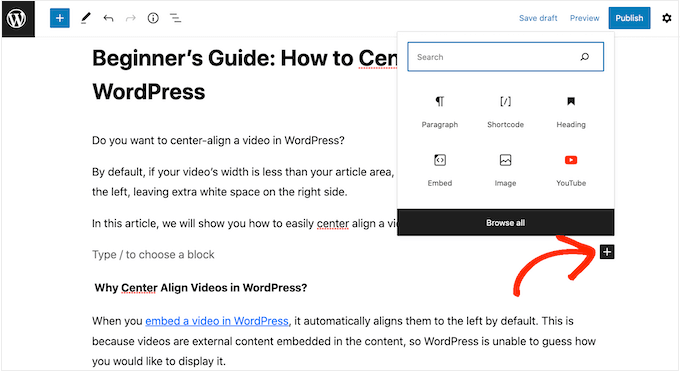
Then, start typing ‘Shortcode’ and select the right block when it appears.
In the Shortcode box, add the following shortcode: [read more]
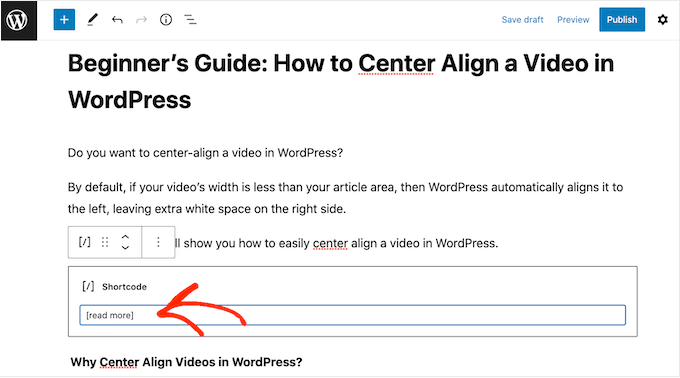
With that done, you’ll need to add a Shortcode block after the text you want to hide.
At the end of the text, simply click on the ‘+’ icon and create another Shortcode block by following the same process described above.
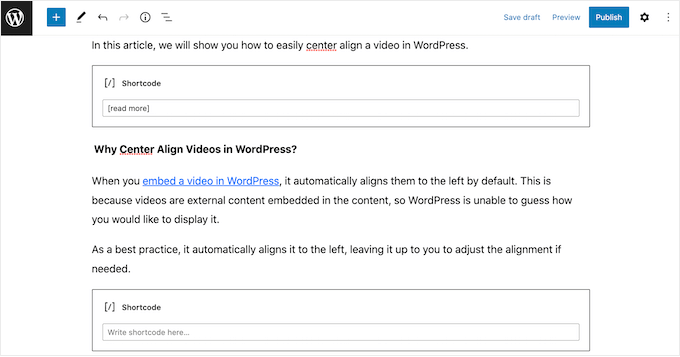
In this block, add the following code: [/read]
You can now either click on ‘Update’ or ‘Publish’ to make the text live.
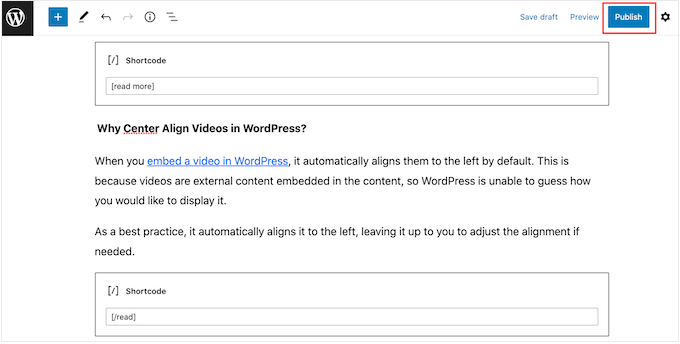
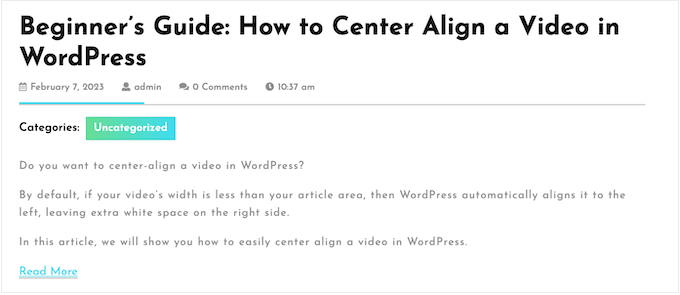
Now, visit your WordPress blog, and you’ll see that the text in between the shortcode blocks is hidden by default.
To show the text, simply click on the ‘Read More’ or similar link.
Method 2: How to Show and Hide Text in WordPress Using SeedProd (Best For FAQs)
There are lots of different ways to use hidden text on your WordPress website. For example, if you have a review site, then you might use this trick to hide movie spoilers.
However, FAQs are one of the most common uses. If you want to create a professional-looking question and answer section with a nice layout, then we recommend using a page builder plugin instead.
SeedProd is the best page builder on the market and allows you to create all kinds of custom landing pages for your WordPress website. It comes with more than 180 ready-made site templates, including designs that you can use to promote your products, services, webinars, and more.
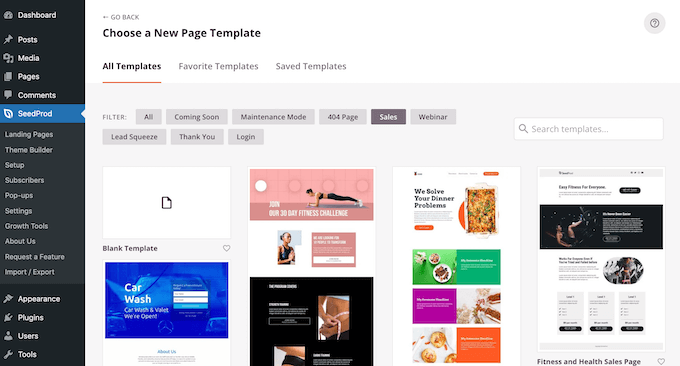
All of these designs are the perfect place to add an FAQ section.
After selecting a template, SeedProd even has different ready-made FAQ sections that you can add to your page design with a single click.
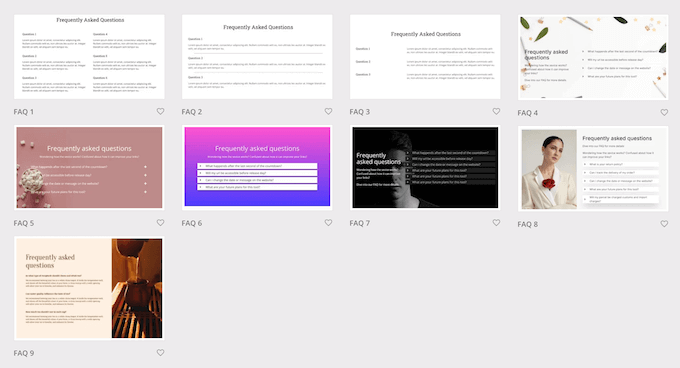
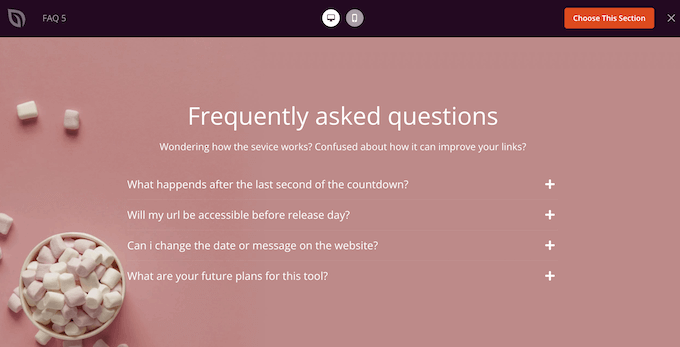
Many of these FAQ sections come with a built-in hide/show text toggle effect.
They’re also fully customizable, so you can easily add your own question and answer text.
For information on how to use SeedProd, please see our guide on how to create a custom page in WordPress.
After creating a page, it’s easy to add a ready-made FAQ section. In the SeedProd page editor, simply click on the ‘Sections’ tab in the left-hand menu.
You can now select ‘FAQ’ to see all of SeedProd’s question and answer sections. To preview a design, hover your mouse over it and then click on the small magnifying glass.
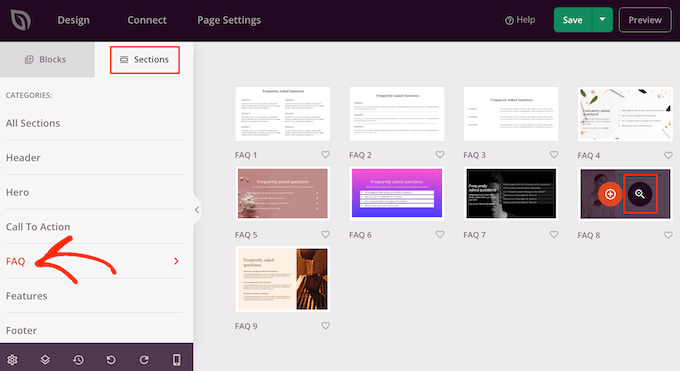
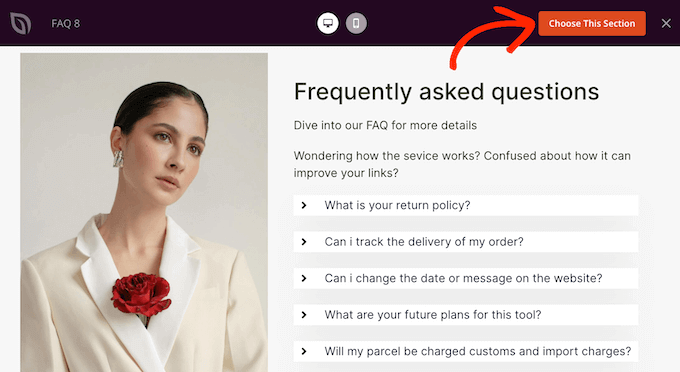
When you find a design you want to use, click on ‘Choose This Section.’
SeedProd will then go ahead and add the section to the bottom of your page.
You can move the FAQ section to a new location using drag and drop.
After that, you are ready to add your own text by clicking to select the FAQ accordion block. The left-hand menu will now update to show a list of all the questions.
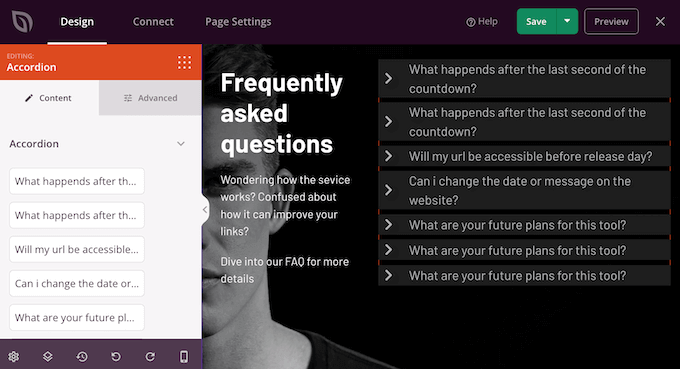
To edit a question and answer pair, simply click on that question in the left-hand menu.
This opens two small text editors where you can add your own question and answer. You can also use all of the standard formatting options, such as adding a link or making the text bold.
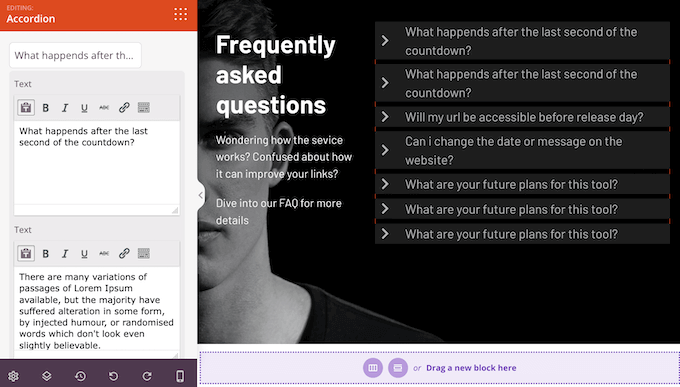
Simply repeat these steps for every question and answer in the FAQ section.
If you want to add more questions, then simply click on the ‘Add New Item’ button.
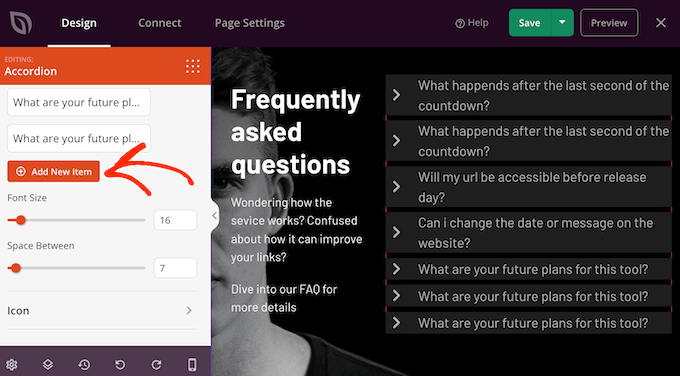
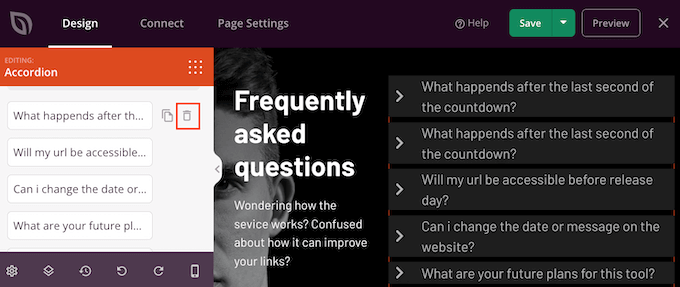
To delete a question and answer pair, just hover your mouse over that question in the left-hand menu.
Then, click on the trashcan icon when it appears.
When you are happy with the information you’ve entered, you can change how the text looks using the ‘Font Size’ and ‘Space Between’ sliders.
There’s also an ‘Icon’ section that defines the small picture that appears next to each question in the FAQs.
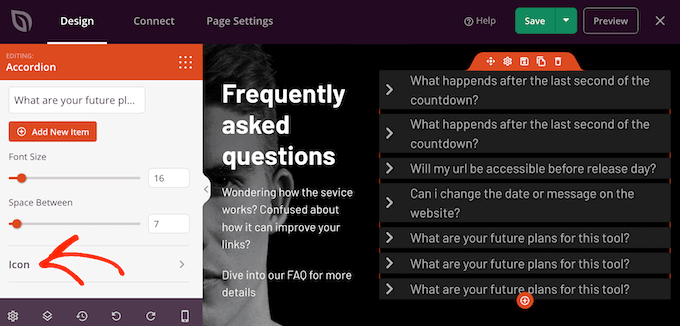
If you want to customize this picture, then simply click to expand the ‘Icon’ section.
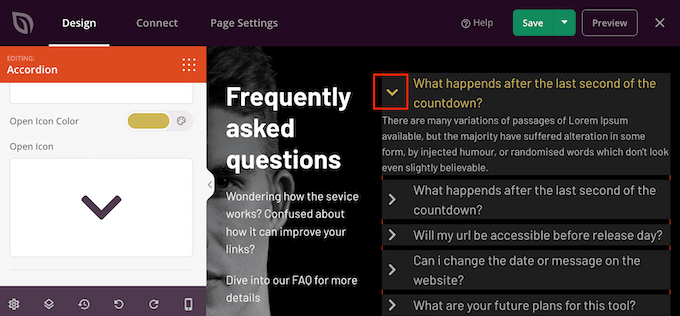
Here, you’ll see settings to change the icon’s alignment and color. Just be aware that ‘Closed Icon’ is the picture you see by default when the question is collapsed.
‘Open Icon’ is the picture you see when the question is expanded.
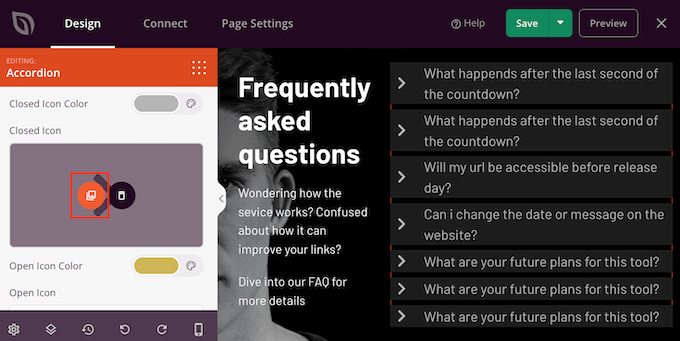
If you want to use a completely different icon instead, then hover your mouse over the ‘Closed Icon’ or ‘Open Icon’ preview.
Then, click on the ‘Icon Library’ thumbnail.
This opens SeedProd’s built-in library, where you can choose from more than 1400 Font Awesome icon fonts.
You can further customize how the FAQ sections look by selecting the ‘Advanced’ tab. Here, you can change the font, add a margin and spacing, and even add CSS animations to make the FAQs really stand out.
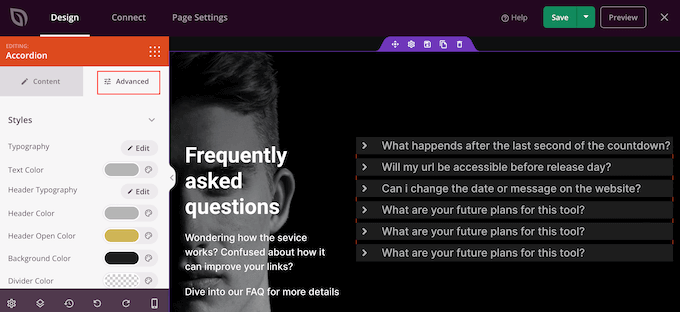
With that done, you can continue adding new blocks and customizing the content on your SeedProd page.
When you are happy with how it looks, just click on the arrow next to the ‘Save’ button and then select ‘Publish.’
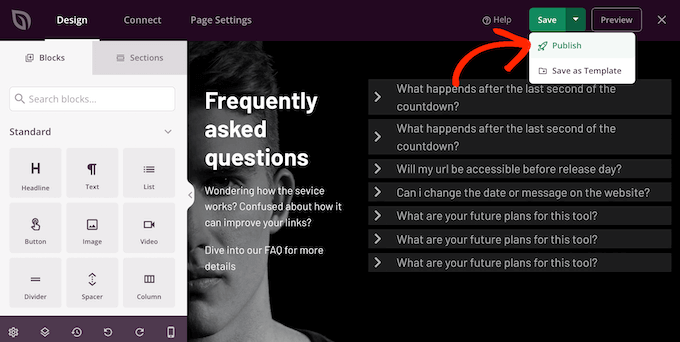
Now if you visit your website, you’ll see the page design and FAQ section live.
We hope this article helped you learn how to show and hide text in WordPress posts with the toggle effect. You may also want to check out our list of the best live chat software for small businesses and our tutorial on how to create a contact form in WordPress.
If you liked this article, then please subscribe to our YouTube Channel for WordPress video tutorials. You can also find us on Twitter and Facebook.

